Monday, April 01, 2013

Welcoming a little peanut

I have no idea where the past few weeks went. Spring is fast approaching and while I am very excited about spring and summer (we kind of missed it last year with buying a house and renovating) I feel like time is flying a bit too quickly. Before I know it, birthday season in my family will be here. 
I'm also seeing deadlines quickly approaching for goals that I've set for myself for getting my thesis done. Scary. 

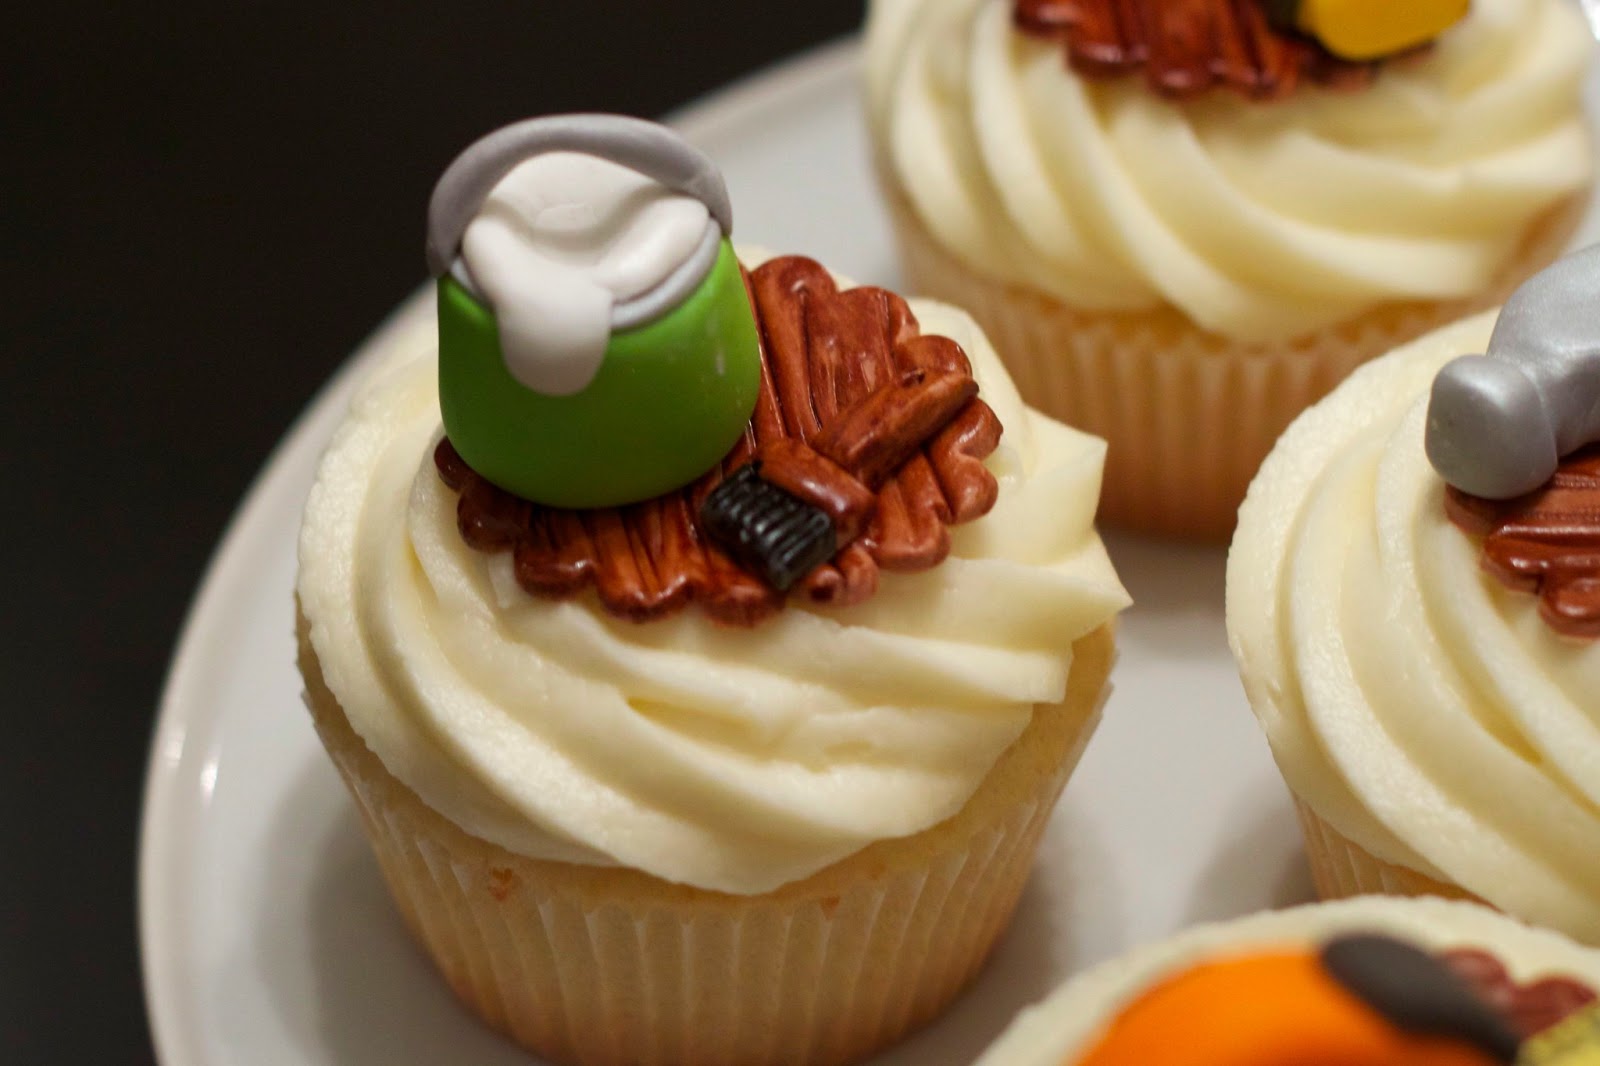
Carrying on with a baby theme, my last baking project was for a baby shower honouring my friend's sister. The theme was elephants and the colour palette was grey and yellow. 

I wanted the elephants on the cake to match the invitation, so in order to make a mommy and baby elephant, I photocopied the invitation onto card stock to use as a template for the gumpaste. One of the challenges with 2-dimensional elephants was figuring out the most stable way to insert these into the cake and ensure they would stay put during a car trip. Initially, I carefully inserted floral wire into each of the legs. I found that I could see the floral wire through the elephants and it did not have as clean of a look as I would have liked. Instead, I recut the elephants and made long and tapered legs that I could stick into the cake. After covering the cake in fondant, I lightly indented where each of the legs would go. After the fondant set and I had the cakes stacked, I made slits for the legs, filled them with a bit of royal icing for added stability and inserted the elephants. The balloon was made with gumpaste and floral wire. This was also secured with a bit of royal icing. I didn't think these elephants were going anywhere, but just in case, I made a few backup elephants for the car ride -- understudies, if you will.
I must say, stripes are not my favourite (translation: not the easiest) thing to do with cakes, especially with 3 alternating colours. My brain is just too tired in the evenings after work to mathematically figure out how many stripes I need to ensure that the colour pattern is continuous and I don't end up with two of the same coloured stripes side by side and how far apart to space said stripes. My math skills seem to be great these days (I really think that it was sheer luck) as the repeating colour pattern worked out perfectly!
I love polk-a-dots and I think it went nicely with the stripes on the bottom tier. I did a pearl border around the base of each tier to finish it off. 
The cake was chocolate with dulce de leche buttercream. I am still using Satin Ice for my fondant of choice. I find that it dries a bit too quickly and that you need to work really fast when covering the cakes to avoid an elephant skin look (would have been ok in this case!) but I love that it does not stretch as much when you are picking up the fondant and it dries to a nice hard finish which I think gives a cleaner look to the cakes. I'll have to see how it behaves in the warmer/more humid weather. 
I was really happy with how this cake turned out and really loved the colour combination of grey and yellow. I also loved the simplicity of the 2-dimensional elephants. My friend did an amazing job putting together the baby shower. Everything was so beautifully coordinated and I was happy that one of my cakes was a part of it.
Now let the countdown to birthday season begin. Will I reign myself in and keep things simple? We shall see.

Sunday, March 03, 2013

Bright baby shower cupcakes

My baking projects and subsequently my blog posts are becoming a tad few and far between. As much as I would like to spend more time on baking and blogging, I am learning the importance of finding balance in my life. Baking is my hobby - 'an activity done in one's leisure time for pleasure'. I have realized that when it no longer fits into 'leisure time', the 'pleasure' aspect of it can become diminished. I am always happy with the outcome of the projects I choose and never have regrets for taking on a project at the end, however sometimes the process in itself may not be so fun and that defeats the purpose of Sweet-D Cakes. 

These cupcakes were an example of a nice light, bright and fun project. People frequently ask me if cupcakes are easier or less time consuming than putting together a fondant-covered cake. I can't say that they are less time consuming because it can take hours to put together many toppers each containing small details that are in themselves time consuming. The benefits over doing a full cake are they tend to be less messy - no cake crumbs from trimming, levelling or torting cakes and I typically use frosting rather than swiss meringue buttercream for my cupcakes which is faster to make and makes yummier leftovers to eat with a spoon later on. The cons of cupcakes is that often they can be more time consuming due to a large number of small details versus fewer cake topper components that can be made up to 2 weeks in advance. Also, you cannot really bake the cupcakes ahead of time and maintain good quality control as they will dry out much quicker than a cake as there is more surface area and with a cake and you can seal in moisture when you cover it with buttercream and fondant.


For these cupcakes, I wanted a little more oomph than the typical pastel colours associated with babies, so I used a hint of electric/bright coloured gel pastes: fuschia + electric pink, lime green, turquoise and egg yellow (okay, egg yellow is not that bright but I didn't want them to be blindingly bright). I think that I could have used a bit more lime green in the scalloped circles as the green is not very discernable from the yellow.

All of the decorations are made from a mixture of fondant and gum paste in about a 3:2 ratio.
The little booties were very simple to make and very cute. As they were simple and plain, I added a couple tiny little flowers to each set.


For the baby faces, I rounded the edge of each fondant circle, added a hat with a little pom-pom and created a ribbed knit effect using a quilting tool. I dusted the cheeks with a bit of petal dust to add a bit of baby rosiness.


The cupcakes were red velvet with cream cheese frosting piped on with a large star tip. I used brown cupcake paper rather than white so that the red did not obviously clash with the cupcake toppers.
The result was a neutral base for bright and cheerful baby-themed decorations.


Wednesday, February 06, 2013

A happy Harry Potter birthday

So after Christmas and the werewolf cake, I decided I was going to take it easy for a bit and just focus on some simpler things. That didn't last very long, in part because I have a very difficult time saying 'no' and I really like Harry Potter. That is how I ended up doing Harry Potter cupcakes and a cake in the past week. 
I kept the cupcakes simple as it was a very busy week. I used modelling paste (half fondant, half gumpaste) for the decorations. The striped scarf was made by 'gluing' red strips to a piece of yellow modelling paste and then running it through a pasta machine. 
I made two little cauldrons and filled them with bright green frosting so that two of the cupcakes could hold candles. I also did Harry faces, lighting bolts and glasses although I think that without arms the glasses look a little like quidditch goggles.


Next was the cake. I wanted again to keep the design simple and cute since it was for a children's party.
The characters are made from modelling paste. The face details are using edible marker and the stripes on the ties painted on using gel paste mixed with a bit of vodka.


To make the hair, I used an extruder. For Hermione I twisted each strand for the curls and attached using edible sugar glue. The modelling paste dried very quickly so I didn't have to worry about the curls coming undone after attaching them.


For Ron, I made him looking a little worried as that is typically how he was throughout the series. When I was attaching the hair, I got a little extra sugar glue on the side of his forehead. I didn't bother trying to clean it off as it actually worked by looking like a little bit of perspiration (although I suppose that it's not very appetizing for a cake, but I've done worse!)


My husband felt that from a side profile, Ron looked like he was mad at Harry Potter. This seemed to work, especially considering the last couple of books. Maybe Ron is just tired of Harry getting all of the attention or he has a horcrux hidden somewhere on him.


The wand was made using gumpaste. I used a few different shades of brown twisted together to make a wood-like colour and used dresden tool to make a wood grain effect. I then painted it with brown gel paste mixed with vodka.

Other details for the cake included gumpaste glasses. This one took two attempts as I broke the first pair.

The scarf was made from fondant. I roughly measured each piece, lined them up alternating the colours and then cut along the sides so it all looked like one piece. Then I placed it on the cake with sugar glue and carefully trimmed any pieces that had stretched when transferring to the cake.


I made a parchment scroll out of modelling paste on which to write 'Happy Birthday'. I did not have time to cut out letters in the Harry Potter font, so I freehanded it using edible marker. It actually didn't turn out too bad considering I left this to the last task and with the time crunch, my hand was shaking.


Unfortunately with time limitations, my photography was not optimal. I really should have  used a flash. To give an antique look to the cake, I  used a large brush to dust the cake, the board and the edges of the parchment with a mix of brown petal dust, gold and apricot lustre dust. It did not really show up in the pictures. Perhaps I should have used a greater proportion of brown petal dust, or just used a flash. You'll just have to trust me that it looked a bit antique.
I really enjoyed making this cake but I have to say, I am tired! I really mean it this time, it's time for some simpler projects!

Wednesday, January 30, 2013

Constructing 'thank you' cupcakes

I have been wanting to make these cupcakes for a while as a thank you for our contractor (Cornerbrook Construction) but just didn't have the time. Once we got settled in the house, I had a few cake projects on the go, then Christmas and school work. We were due for our final inspection by the city for our renovation, so I thought it would be the perfect time to make these construction-themed treats.


It was fun selecting which tools I thought would make good cupcake toppers. The first one I made was a 'DEWALT'-like drill because I think I've seen that brand a lot in places that sell tools. I am in the market for a drill because we still haven't put up curtains on the main floor or any pictures, but I think I'll start off with something a little less fancy. This one is my kind of drill - it's edible!


The next tool was a hammer. I used a bit of shimmer to make it look a little metallic and used brown gel paste and vodka to make a wood-like handle. I'm not sure if I even noticed any hammers lying around during the renovation though. They had fancy things like nail-guns which I didn't think would make as cute of a cupcake decoration.


The measuring tape is one of my favourite toppers and something that was very handy in planning our renovations and furniture placement.


There was lots of painting to be done! To save a bit of money, we decided to paint the upper floor ourselves. I remember frantically doing the second coat in the Master bedroom just before the moving truck arrived with our furniture. There is still a small portion of unpainted walls in the upstairs hallway. I haven't quite recovered enough to tackle that yet.
I don't think I ever saw a square hanging round but it seems like a very important tool. Maybe it wasn't used for our renovation. I have no idea. That's why we hired a contractor.
The X-Acto knife if my favourite of the cupcake toppers. This is an invaluable tool for renovating and moving because you are forever dealing with boxes and cardboard. 


In retrospect, I should have made a broom or a shopVac as the part I remember most about the renovation (aside from how much I love our house now) was dust, dust and more dust! 

While very stressful taking on a the purchase of an old house, the renovation and moving all in a very tight timeline (I'm not even going to talk about selling our condo), it was a neat process - walking into an open house and thinking 'this house requires too much work!', to buying that house, planning the renovation and seeing what you pictured for the house become a reality. Cornerbrook Construction was great, especially considering how OCD detail-oriented I am. 


Monday, December 31, 2012

It's close to midnight...and it's my last cake of the year

For months I had my sister try to convince my nephew that he wanted a Despicable Me themed cake for his 3rd birthday party as I just had a hankering to make some cute yellow minions. This worked for short while but soon he changed his mind and requested a Harry Potter werewolf cake. Not really wanting to try to come up with a design that might fit that request, I continued to have my sister show him cute videos of minions. Enter my older nephew. He was watching a video for Michael Jackson's Thriller and the younger one became fascinated with it. Not only did he want a werewolf cake, but it had to specifically be a Michael Jackson werewolf. For weeks leading up to the party, I hoped that he would change his mind. Once the invitations went out, I started the planning process on how I would make a Michael Jackson Thriller werewolf cake.

We celebrated my brother's birthday a few weeks ago. My sister-in-law brought out this delicious chocolate cake and my nephew exclaims, "werewolf cake!" I looked at the chocolate frosted cake and thought to myself, 'wow, if he thinks a frosting-covered chocolate cake is a werewolf, this is going to be an easy cake'. And the he added, "but I want a face on it."

For the past few weeks I have been thinking about how to make a werewolf. I definitely wanted it to be cute/cartoon-like since it was for a 3-year-old child. I thought about making the whole cake a standing werewolf but then I thought about how I didn't think my nerves could handle the drive with a cake that required significant structural support. It also would have meant the possibility of not having enough cake servings unless I wanted to make a 3-foot-tall cake.

I decided to make the werewolf jumping out of the cake. The body was made from rice cereal treats. I have recently found it easier to work with pre-made rice cereal treats vs homemade. It is much easier to get a more condense and solid shape and I don't have individual pieces of rice cereal and gooey strings of marshmallow sticking all over my hands. The head was also make from rice cereal treats. I have to admit, looking at the cereal form, I really didn't know how it was going to end up looking like a wolf. I used modelling chocolate on the head to form facial details like eyebrows and to fill out the cheeks and the mane. At this point it looked like some form of voodoo mask. I covered the head in fondant and used a modelling stick and additional fondant to make the fur. I added variations in fur colour with white, brown and black petal dust. The position of the arms ended up being a bit funny. Instead of an 'I'm going to get you' position, he looks more like he's saying 'I don't want any trouble!'

The hands, nails and teeth were made with gumpaste. I used a stitching tool to give a ribbed looked to the collar of the varsity jacket.

I also dusted the cake with petal dust to make it look like dirt and more graveyard like. I painted his name on the cake using red gel paste mixed with vodka.

I enjoyed his reaction to the cake. He hung on to his dad and said, "It's scary...."
After singing 'happy birthday' I played the Thriller song and video on my phone for him. He is so entranced by that video. I don't remember how old I was when I first watched that video but I would think that 3-year-old would be scared, especially when the zombies are rising from the graves. He can't take his eyes off the video. It's like he sees it as an instructional dance video. He does the zombie walk and he sings along and mimics all of the dance steps. He even does an excellent MJ spin!


It was certainly a fun cake to wrap up a busy year of work, school, moving and baking. I have to say, I am pretty tired though and I am happy to put the cake decorating supplies away for a couple of weeks. I think I'll start off the year with a few simpler projects. I look forward to the baking challenges of next year. I'm sure my nephews will dream up some impossible cakes for me to make.
Happy New Year everyone!